How to Change the Windows Pagefile Sizes
The Windows Pagefile is used for virtual memory operations by the Windows kernel.
Windows pagefile sizes are set during installation, and normally do not have to be changed. However, if you add memory to your system after initialization, you may need to increase the “initial pagefile size” on the primary boot drive. This is especially true if you’re trying to get a kernel memory dump to diagnose a problem.
If your pagefile is too small, you may get a memory.dmp file, but Debugging Tools for Windows won’t be able to read it. Even if you don’t intend to examine the dump yourself, you still might want to give it to someone else! On systems with solid-state disks (SSDs or NVMe drives), your system administrator might have limited the size to reduce wear on the disk — but this can prevent analysis later.
It’s rather involved to change the sizes, so here are step-by-step procedures, one for Windows 10, another for older versions of Windows.
To change the Pagefile size:
On Windows 10, you can get directly to system properties from the task bar, but then you have to traverse several dialogs.
- Press the Windows key.
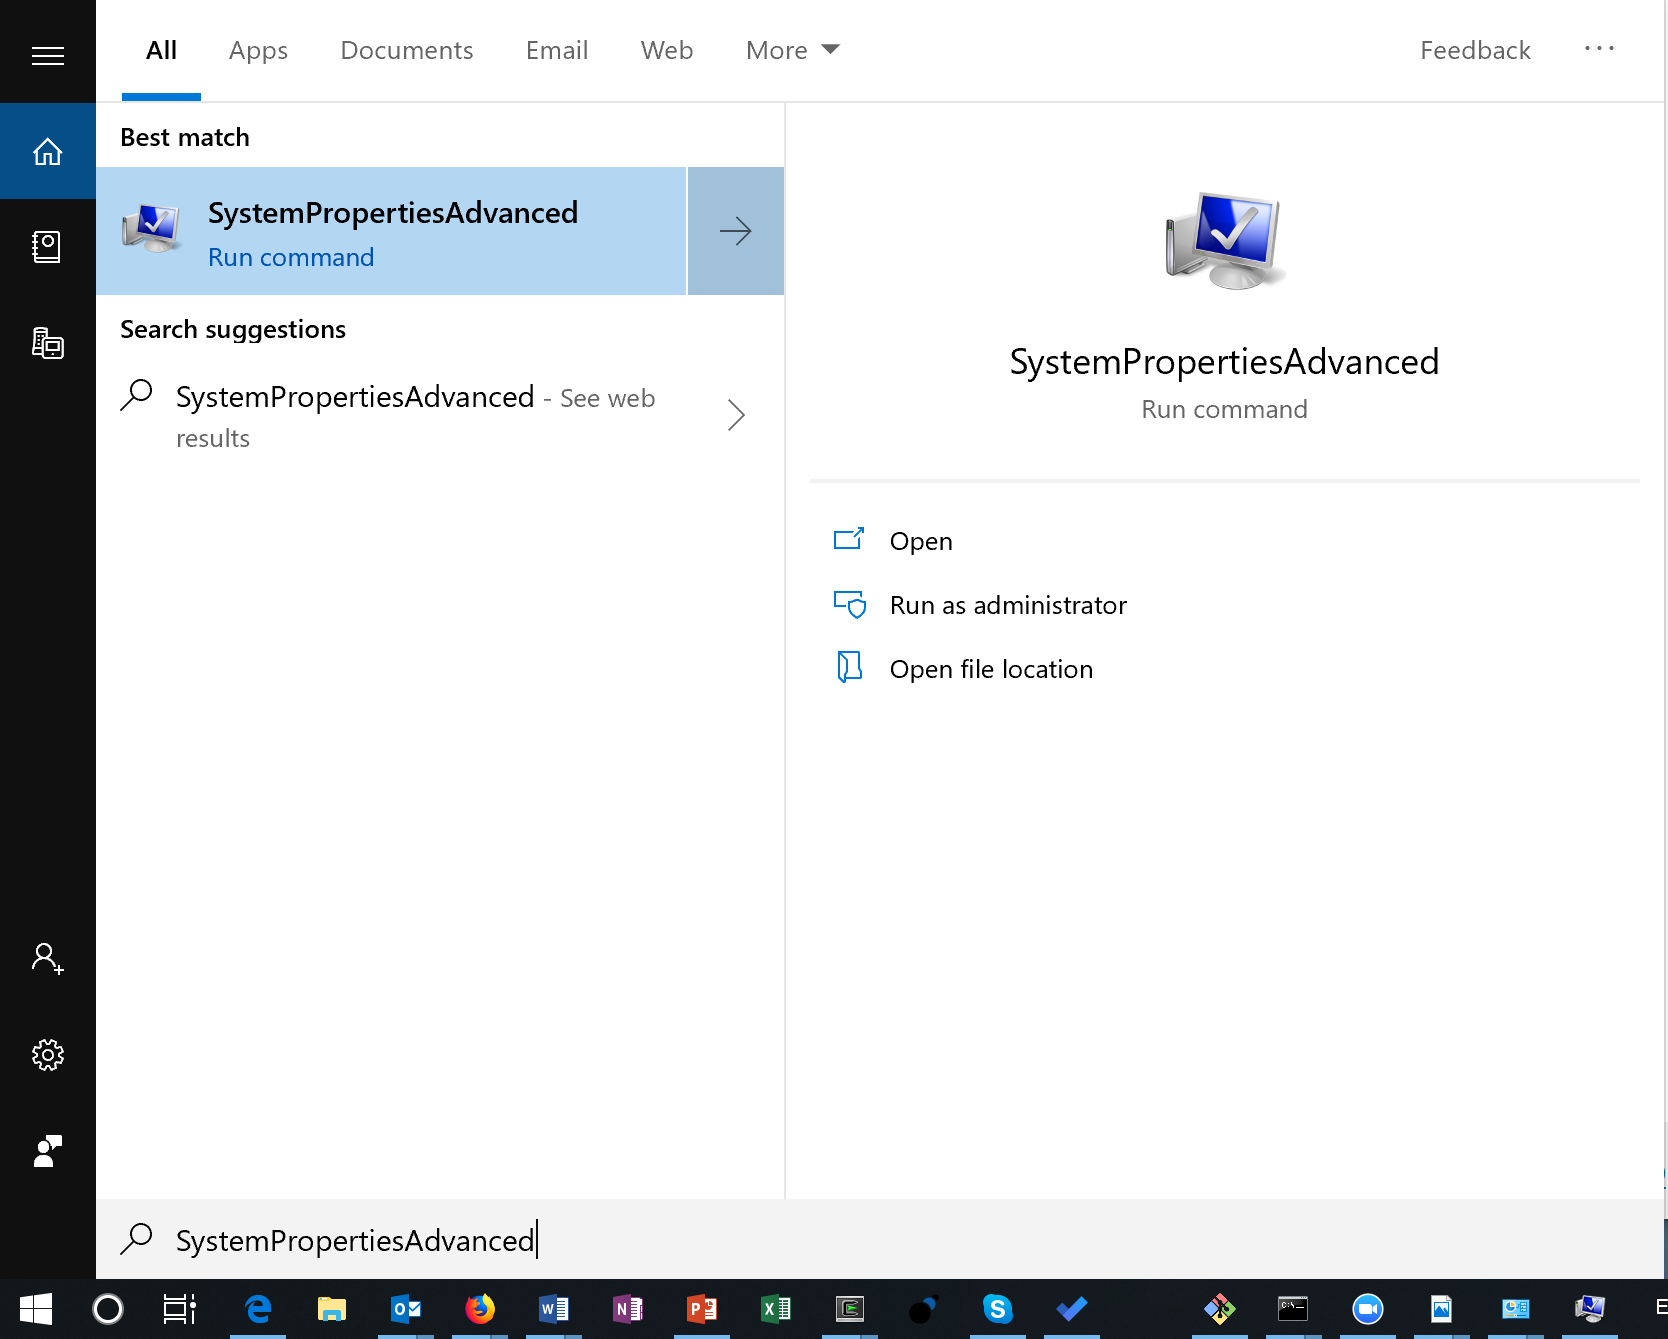
- Type “SystemPropertiesAdvanced”. (You can type all in lower case, too: “systempropertiesadvanced”.) You’ll see this:

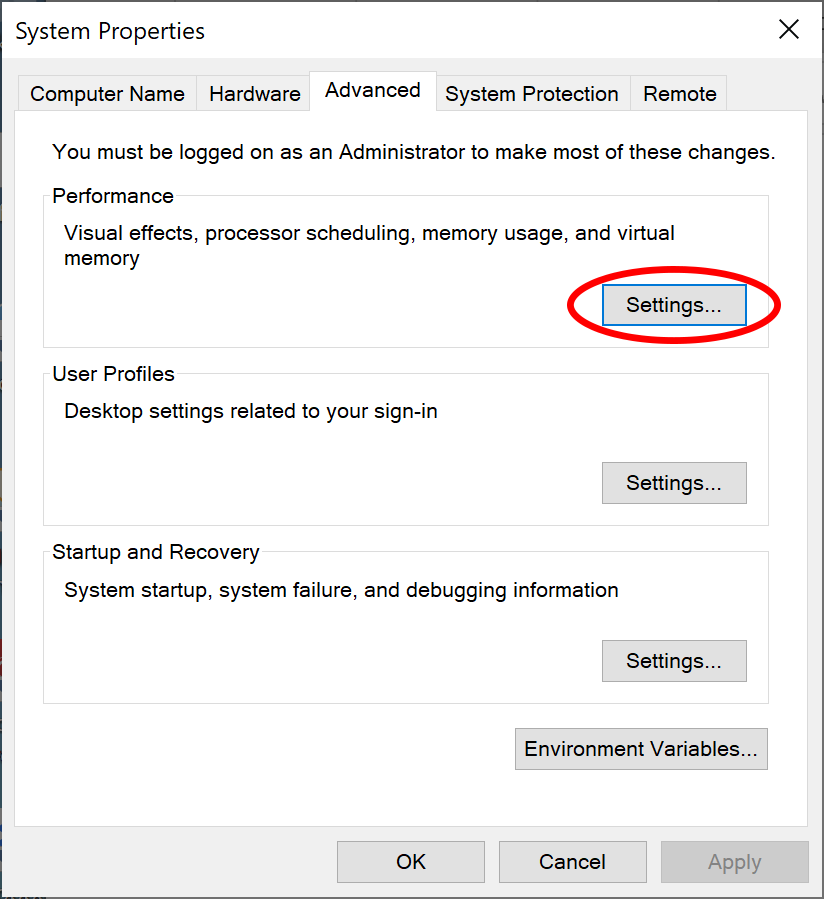
- Click on “Run as administrator.” You’ll see the advanced properties page:

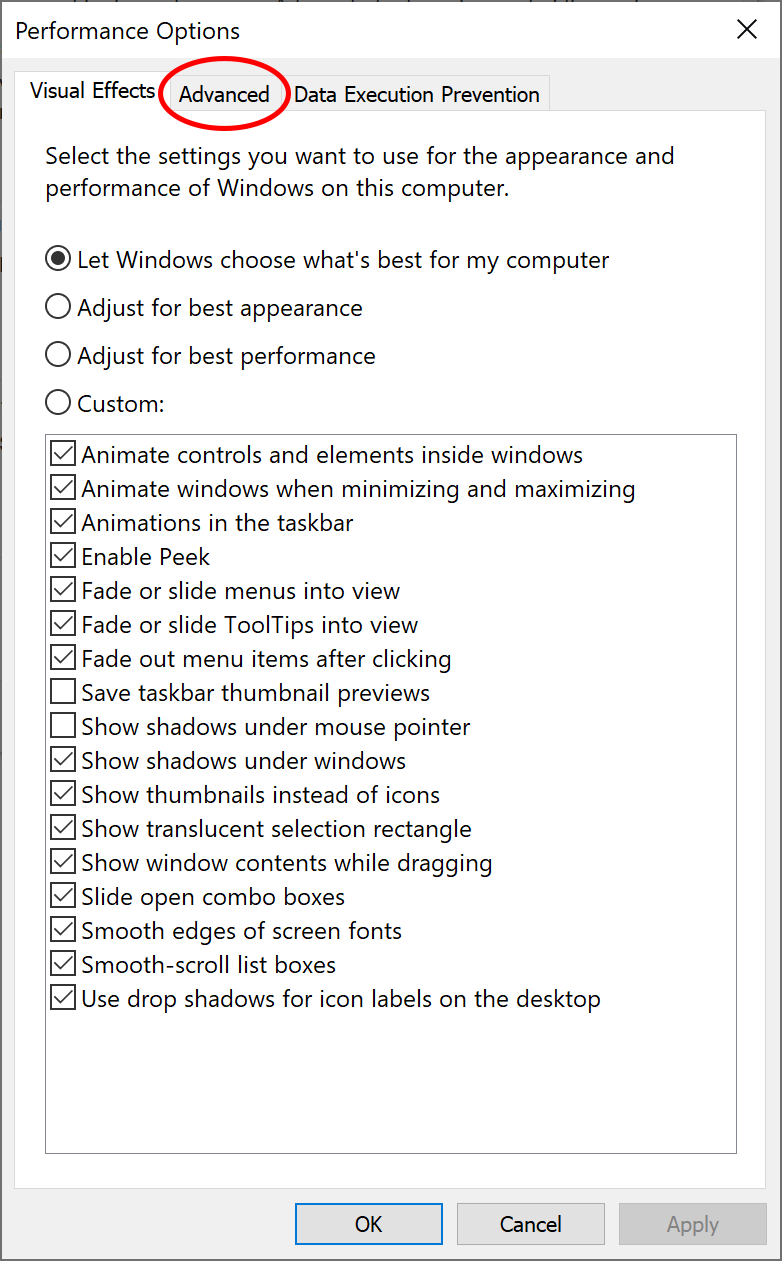
- Click on “Settings..” You’ll see the performance options tab.
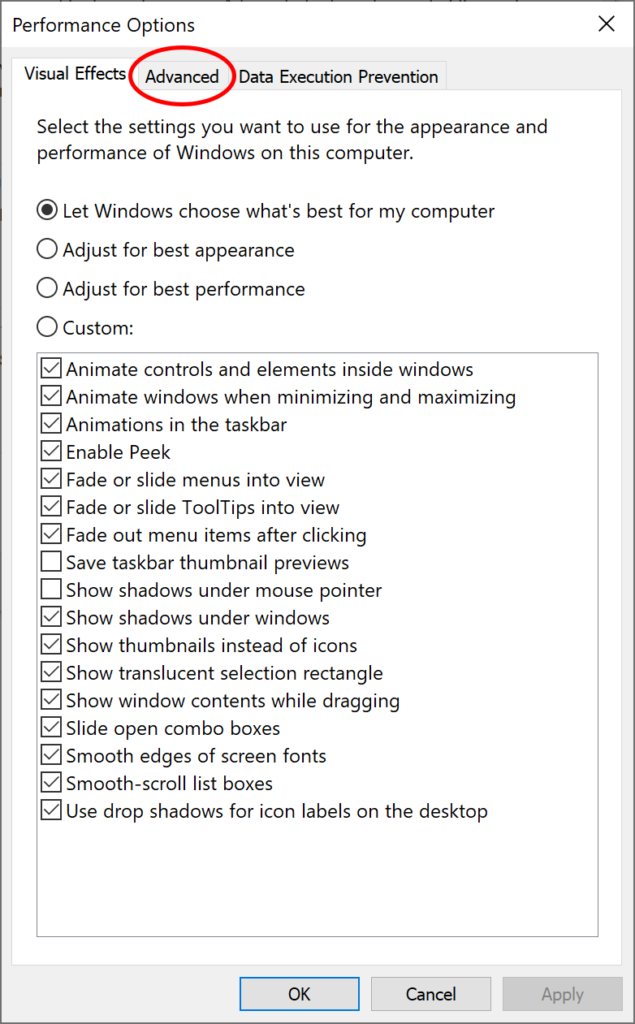
- Select the “Advanced” tab. You’ll see the following panel.
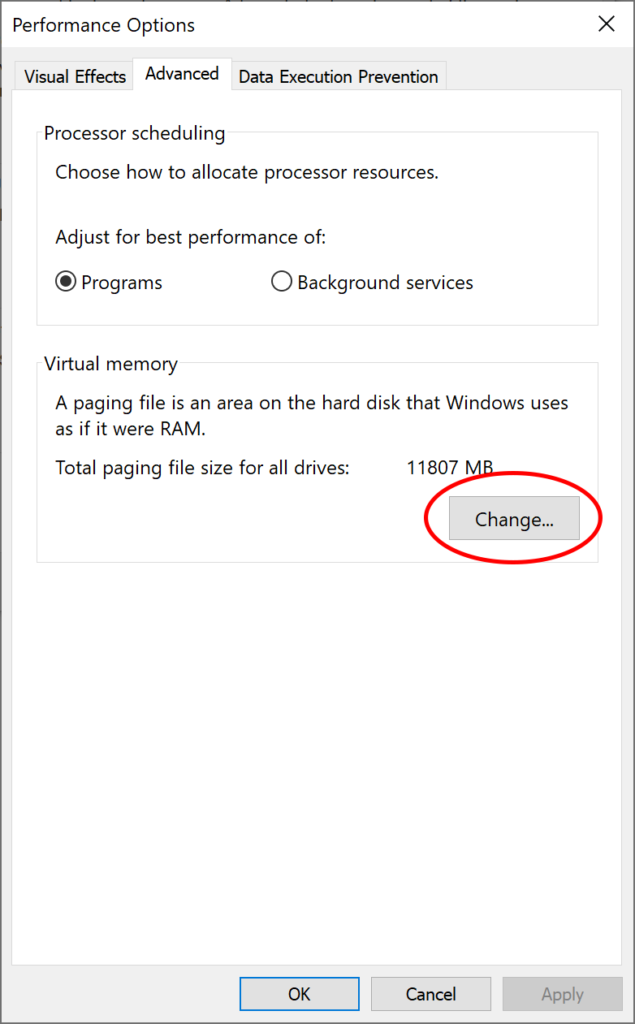
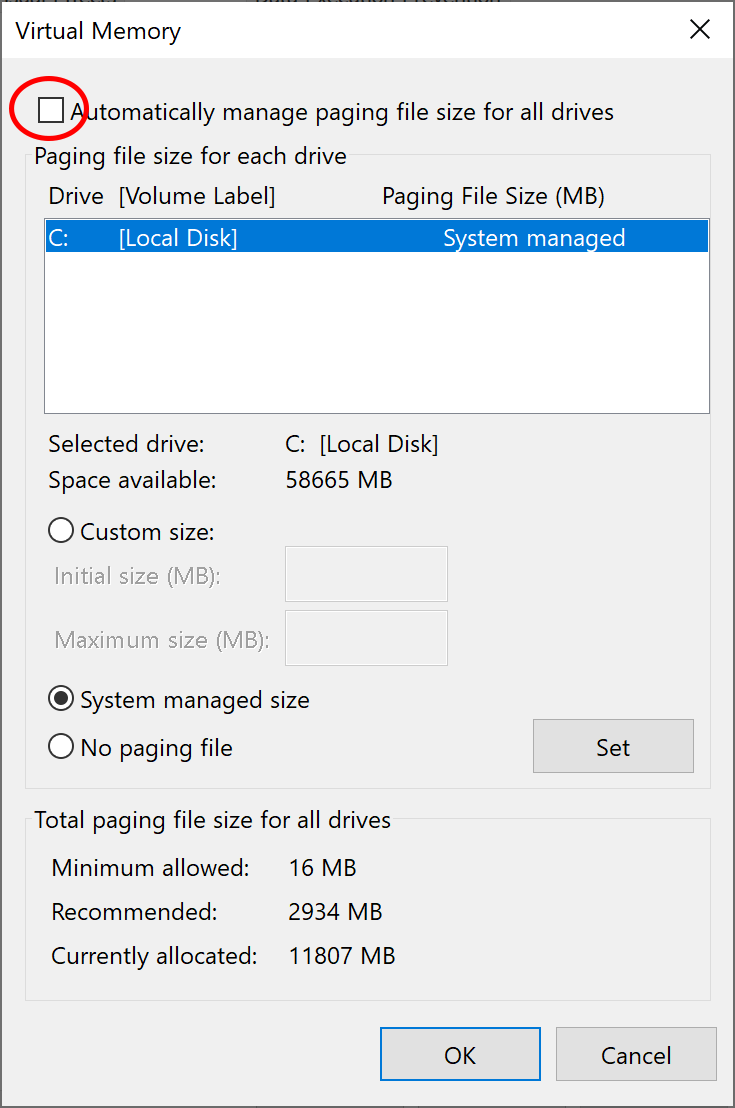
- Select “Change…”. You’ll see the following panel.

- Make sure the checkbox “Automatically managing paging file size for all drives” is not checked, as shown above. Then select “Custom size:” and fill in an appropriate size. (If you are doing this because of a message from “How to Enable Kernel Memory Dumps”, be sure to select the drive mentioned in the alert box, and also set the initial size according to the alert box.)
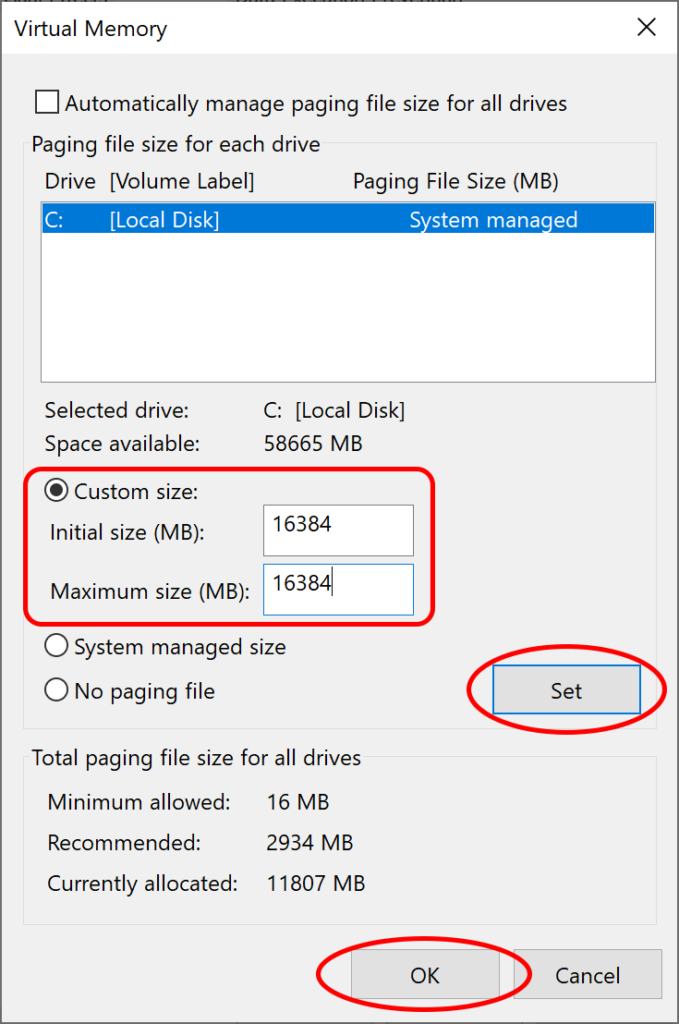
- Press “Set”, press “Ok”, then exit from the Virtual Memory, Performance Options, and Systems Properties Dialog.
- Reboot your system.


- Log in as a system administrator.
- Open the system control panel, and double-click “System”:
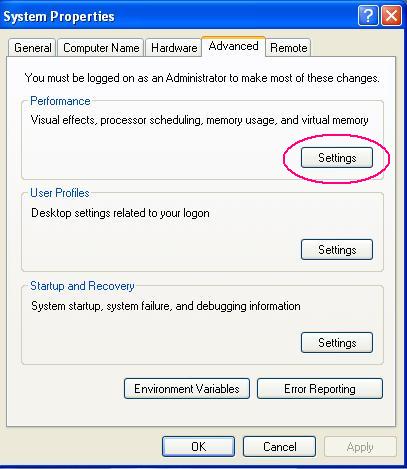
- After a short pause, you’ll see the the general system properties page. Select the “Advanced tab”

- In Windows 2000, select “Performance Options”. In Windows XP through Windows 7, select the “Settings” button under “Performance”. The image below is for Windows XP:
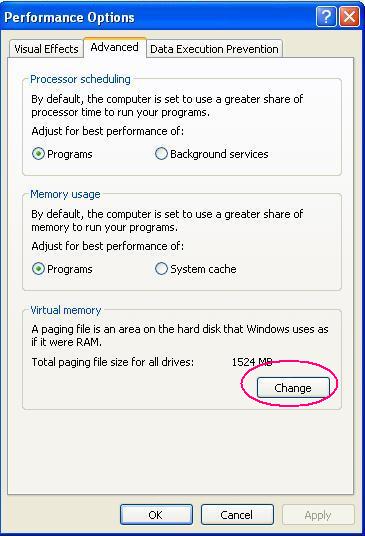
- You’ll see the Performance Options page. In Windows 2000, select “Change…” In Windows XP through Windows 7, select “Advanced” and then, under “Virtual Memory,” select “Change.” The image below is for Windows XP:
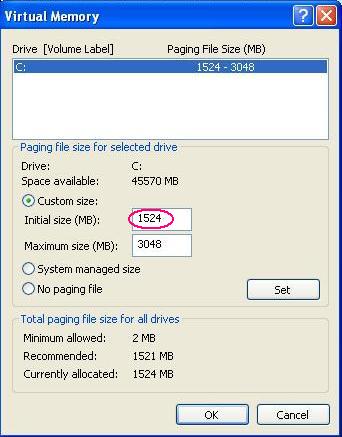
- You’ll see the “Virtual Memory” page. Select a drive, if more than one, and change the initial size of the paging file. (If you are doing this because of a message from “How to Enable Kernel Memory Dumps”, be sure to select the drive mentioned in the alert box, and also set the initial size according to the alert box.) The image below is from Windows XP.
- Press OK, and exit from the Performance Options (2K) or Virtual Memory (XP through Windows 7) page.
- Restart the system.